AI Image Generator
Explore the image-generation workflow for creating visuals from prompts.

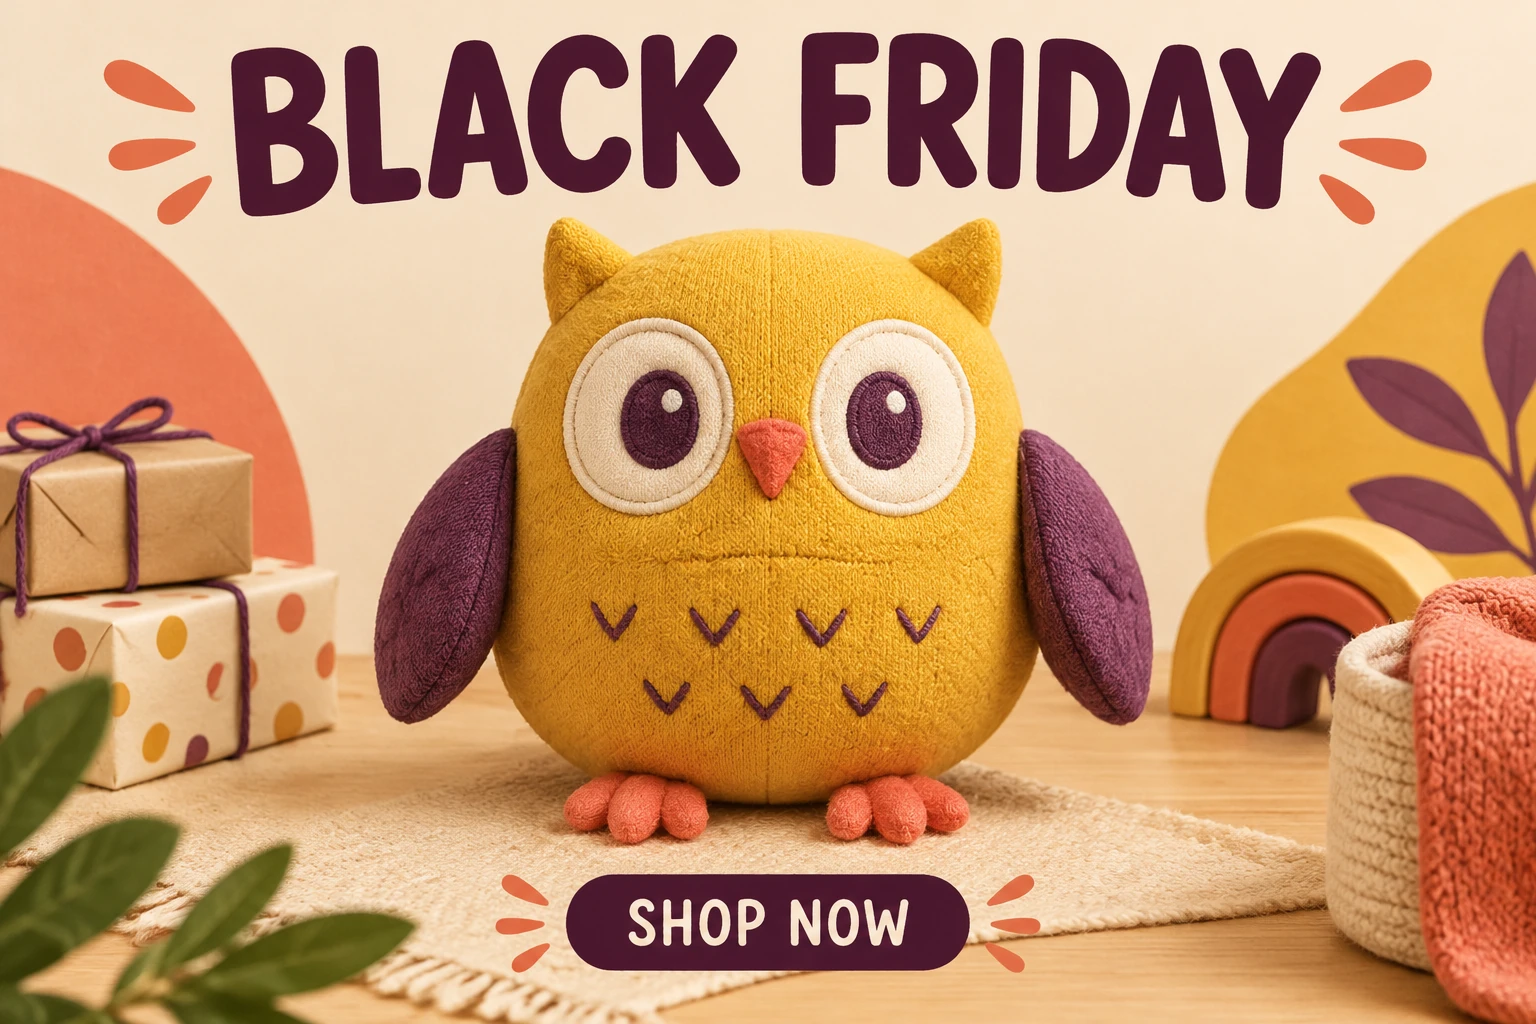
A Black Friday Poster Maker helps you create a campaign visual to finish with your real sale details. Start with Text to Image for a fictional poster: write an editable prompt, with no upload. Or choose Image to Image to adapt one real product photo using an editable prompt. For this toy-shop concept, picture an original soft fabric owl with a round mustard-yellow body, short plum-purple wings, embroidered oval eyes, and simple felt feet. Give it a clear place in the composition, use warm cream and coral as supporting colors, and leave room for a short headline. Before publishing, check the product and every letter, then add confirmed offer details in your usual editor.
Text to Image creates a fictional visual from an editable prompt and does not take an upload. Image to Image takes one uploaded real product photo plus an editable prompt. Choose the latter when the poster should feature the item in your photo; choose the former for an original product concept such as the example owl.
For a product photo, choose one clear image with the product fully visible, in focus, and separated from a distracting background. Describe the product’s real appearance and ask to preserve its shape, count, colors, markings, labels, and materials. Specify where the product should sit, where the headline should go, and how much clear margin to leave around both.
Write style direction into the prompt: name the palette, shapes, background, and lighting. For a soft fabric look, mention visible texture and stitching; use gentle, even light so colors and details remain easy to inspect. In Seedream 5.5, choose from the available size and aspect options. Check the current credit quote beside Generate before starting; History shows generation status.
Compare the image with your prompt and, for Image to Image, the uploaded photo. Check the product’s form, count, colors, markings, labels, and materials. Inspect every letter in BLACK FRIDAY and SHOP NOW, and look for extra text. If you revise, change one prompt variable at a time—such as the lighting, margin, or headline placement—so the effect is easier to judge. Download the image, add verified sale information in your usual editor, and check the final placement.
A simple composition helps viewers notice the product first. For the fictional owl, use the round mustard-yellow body as the main color block, with short plum-purple wings and felt feet easy to distinguish from the background. Add coral and warm cream as supporting colors, rather than filling every open area. Decide early whether the product belongs on the left or right; keep enough uncluttered space on the other side for the headline and call to action. Leave a margin around the subject and text so neither feels crowded.
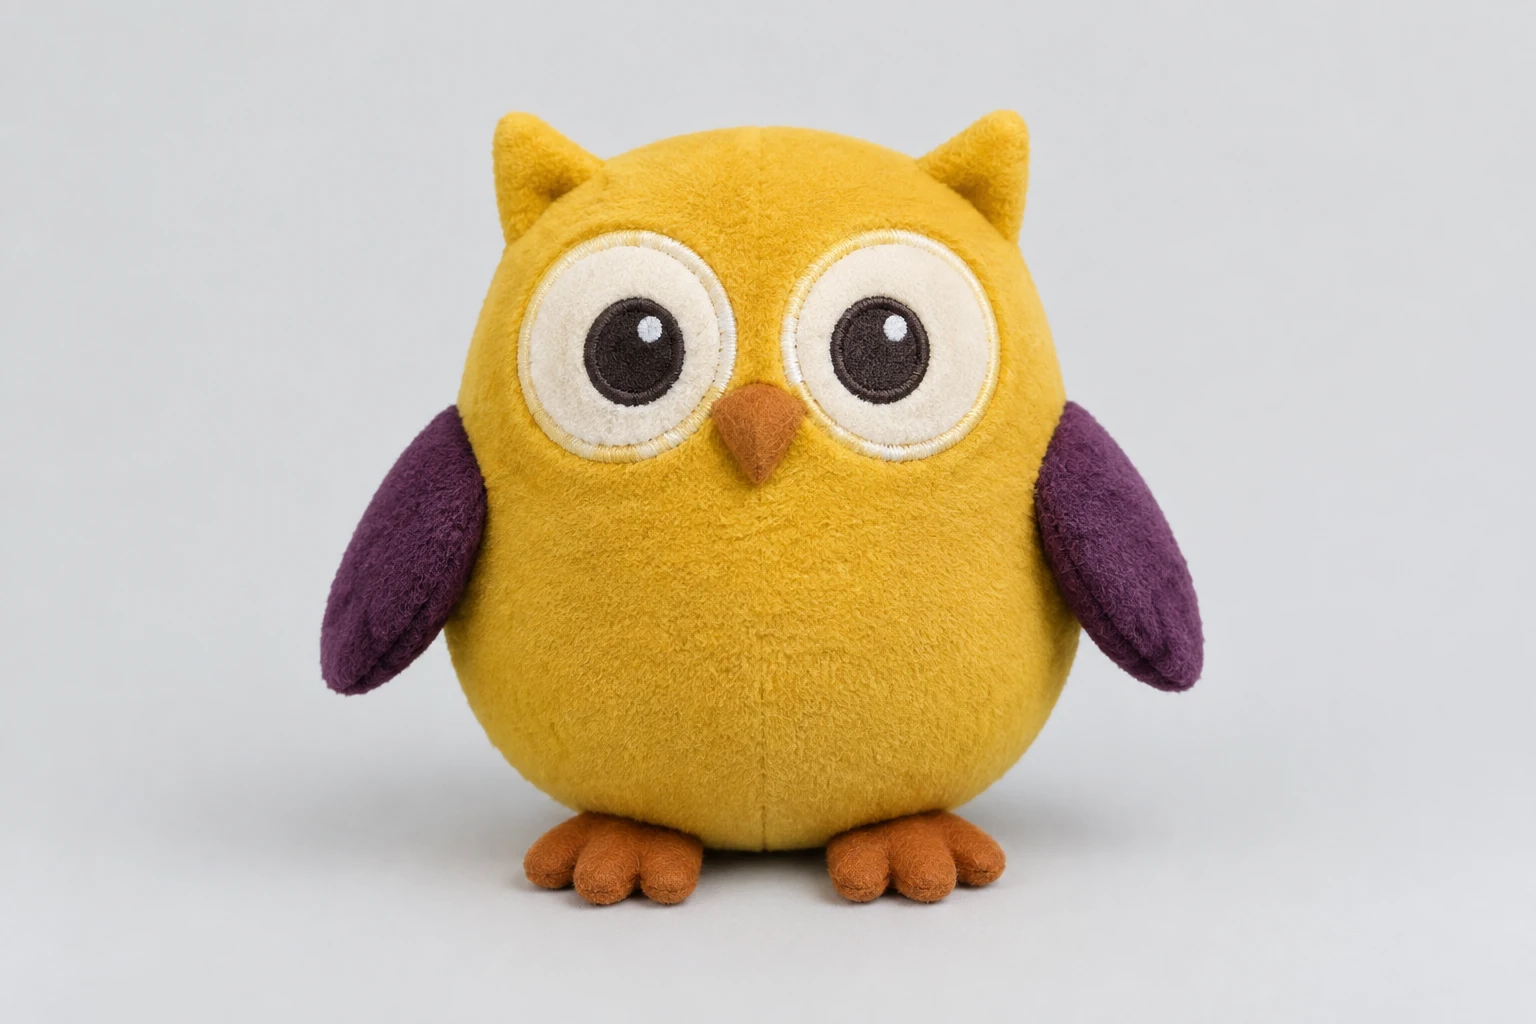
Use one photo of the actual item you plan to promote. A plain background, even lighting, sharp focus, and a fully visible product make it easier to judge how the image has been adapted. Avoid cropping off distinctive features or hiding labels you need to preserve. In your prompt, name what must remain true about the photographed item, then describe the desired background, lighting, product placement, and open text area. The edit prompt adapts the uploaded product; it should not substitute the example owl.
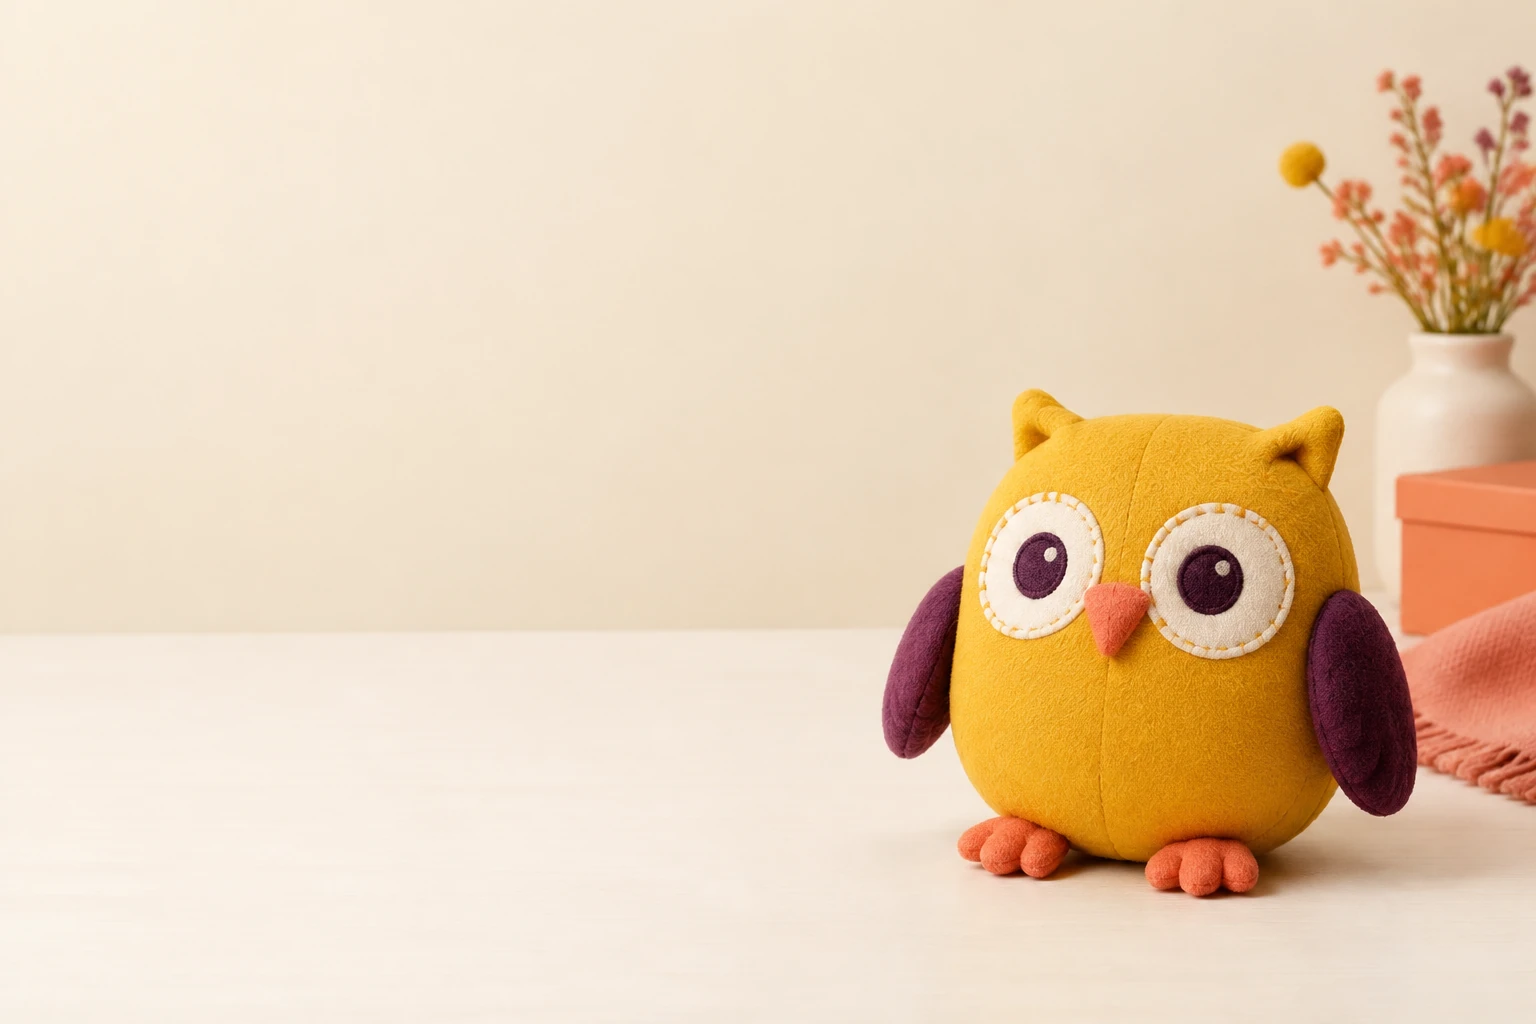
The visual style comes from the prompt, not a dedicated style preset. Describe friendly rounded shapes, a warm cream background, the mustard-yellow and plum-purple palette, gentle studio light, and clear margins. Ask for the exact phrases BLACK FRIDAY and SHOP NOW, but keep them short and check the result closely. If something needs changing, make one revision at a time: adjust the light, move the product, open up the margin, or simplify the background. This makes it easier to see whether that specific change helps.

Treat generated lettering as a draft: verify spelling, spacing, and any unexpected text, then set or correct final typography in your usual editor. Confirm real discounts, dates, offer conditions, and legal details with the merchant before adding them. After downloading, check that the image’s dimensions and quality suit the intended screen or print placement. Review the final layout at its actual display size, with the product, headline, and offer information legible and within the placement’s margins.
Access depends on the credits or offers actually available on your account at the time. Check your account and the live credit quote beside Generate before starting; no particular free allowance is guaranteed.
Image to Image uses one uploaded real product photo plus an editable prompt. Text to Image uses an editable prompt and does not take an upload. For the toy example, show the feet, wings and fabric stitching clearly.
Read the current credit quote shown beside Generate, then compare it with your account’s current credit balance before you start. The quote and balance are the relevant figures for that generation.
Waiting time varies. Check History for the generation’s status rather than relying on a fixed completion time.
Check every letter and remove or correct any unintended wording. Confirm actual prices, discounts, dates, conditions, and legal details with the merchant, then add the approved information in your usual editor.
Check the intended screen or print placement’s actual dimensions and review the downloaded image’s dimensions, quality, margins, and legibility at the planned size. Adjust it in your usual editor if needed; do not assume the download is a vector file or print-ready PDF.
southparkcharacter.com · Updated